This is the recipe for play-doh that I use
2+cups white flour (cheap stuff)
1/2 cup salt1 cup warm/hot tap water
1 tsp oil
koolaid for color (or tempera paint, or glitter, or whatever dyes you have around). I used koolaid.
mix dry stuff, mix koolaid with water, add wet to dry, stir. knead in enough extra flour so it's not sticky anymore. store in a bag at room temp (for months and months).
Thursday, January 22, 2009
Wednesday, January 21, 2009
Flour Prints
You will need:
Container with water
Construction paper
flour
shellac
towel
Have your child dip his hand or feet into the container of water. Shake off any excess water. Place her hand or foot on top of the construction paper, making sure to lift it on and off so it makes a clear water print. Ask her to step onto the towel while you sprinkle flour onto the wet spots on the construction paper. Let the wet flour dry, then spray or paint it with shellac. Try making interesting patterns on the paper but always dip hands or feet into the water and shake them before making a print.
I found this awesome suggestion in the book 365 games toddlers play by Sheila Ellison
I wonder if this could work with a paintbrush and water, having them paint the paper instead? I just love this idea because it isn't nearly as messy as paint.
Tuesday, January 20, 2009
Magnets
We love to create magnets by printing pictures onto magnet paper. I cut them out and use them on cookie sheets in the living room.
You can use the magnets to teach kids about colors, sizes, people, artwork, food, numbers, or really any subject.
When I run out of ideas I can always turn to magnets.
You can use the magnets to teach kids about colors, sizes, people, artwork, food, numbers, or really any subject.
When I run out of ideas I can always turn to magnets.
Music Makers
I love making homemade musical instruments. We did this over the summer and loved it. It is really fun for the kids to play with when they finish. Daniel loved it and hadn't even turned two.
Kazoo (for older children)-
You will need a cardboard roll (go ahead and unroll your entire paper towel roll because you waited until the last minute and don't have an empty one on hand), wax paper, rubber bands, crayons, markers, stickers or paint, paperhold punch or scissors.
1. Decorate the cardboard roll using your desired decorations.
2. Have an adult punch out or poke several holes in one end of the roll
3. Cover that end and the holes with wax paper held on tightly with a rubber band.
4. Hum into the open end of the roll with fingers placed lightly on the wax paper. Put your finger over one or several of the holes. Experiment with covering and uncovering holes as you hum.
Drum (great for little ones)-
You will need a coffee can with the plastic lid, construction paper, crayons, markers or paint, tape and scissors. (You can see where we are going with this right?)
1. Cut the construction paper to fit around the coffee can.
2. Decorate the paper
3. Replace the plastic lid and decorate.
4. Beat rhythms on the lid with your hands (or a handy wooden spoon if you would rather.)
Tambourine (great for older kids who need help with their fine motor skills)-
You will need two 9" paper plates, crayons, felt tip pens, watercolors, paints, anything to make noise (jingle bells, rice, shelled corn, small pebbles, plastic beads, dried beans or peas), yarn, narrow ribbon or pipe cleaners, glue and a paper hole punch.
1. Color or paint the bottoms of the plates. Let them dry completely. This is the advantage of NOT painting if you have little kids. Mine definitely don't want to wait.
2. Punch holes about 2 inches apart around the rims. Then, tie a jingle bell at each hole with a length of yarn.
3. Place a handful of rice (or corn, pebbles, beads, beans or peas) onto one plate.
4. Glue the paper plates together, rim to rim, with the eating surfaces facing each other.
5. Hold the rims tightly and shake or tap the tambourine.Note: I also staple the plates as secondary security. You also could decorate the plates with streamers if you desired.
Adaptation to the tamborine. Decorate the paper plates, fill with bells, staple shut. This works well for little ones.
Note: take into account that whatever goes into these art projects will very likely end up outside of the projects and on your floor. With this knowledge please don't put things like nails inside the shakers. At this moment you are thinking "Isn't this an obvious comment" but since my kids actually came home from school once with a shaker filled with nails this apparently is NOT such an obvious comment.
Box Guitar-
You will need a shoebox (no lid), rubber bands (preferably of varying widths), paint, paintbrushes with stiff bristles, paper towel roll, glue, scissors.
1.) Paint the paper towel roll and entire shoebox, a few sides at a time, with a dark brown color. Let it dry.
2.) Without getting your paintbrush wet, paint over the dark brown with lighter brown paint. This makes it look like wood. Let it dryNote- of course if they desire they could decorate it any way they want.
3.) Glue the paper towel roll to a short end of the shoebox.
4.) Stretch the rubber bands around the open shoebox. Space them out evenly from the widest to the most narrow.
5.) Experiment by plucking the strings
Monday, January 19, 2009
Textures
Collect small pieces of cloth and paper of different textures:
velvet, sandpaper, cellophane, burlap, silk, tissue.
You can go to a fabric store and ask for swatches of different fabrics for free.
Then you could put them in a shoe box and have them pull out a piece of fabric one at a time and describe it. Is it rough and bumpy and brown? Is it smooth and silky and pink?
If you have older children try putting a cover on the box and have them reach their hand in to feel the object and have them guess which fabric piece it is.
I think it would be really fun to get larger 1' x 1' square pieces of a variety of textured fabrics, sew them together and make a texture quilt. Wouldn't that be fun in a classroom?
Toddler Activities
This is a list of activities I do with my kids at home (ages 1-2)that I posted in my personal blog. Some of these will be repeated in greater detail later on but I thought I should include it.
1. With my son who is 21 months I usually have the do-a-dot set out for him to dot away on paper. This is really enjoyable for him and if he gets bored we can color with crayons and markers too.
2. I make play-doh at home, that way I know it is safe to eat, and we play with that and some cookie cutters.
3. I let each of my boys go outside with paint, paintbrushes and a canvas to paint a masterpiece that I hang on my walls for them to proudly see. This I do outside and then hose them down afterward.
4. I take him/them to art museums in town. This isn't at home but thought I would mention it.
5. I do a lot of crafts with my older boys and my younger son likes to "participate" so I always have glue, string, paper, pom pom balls, foam pieces, fabric, etc so he can make his own craft projects. My 2 yr old especially likes to make paper bag puppes or sock puppets. They generally don't like any creature that I have ever seen but he loves doing it himself.
6. Put him in the high chair and let him splash around in "mooshy foods" like pudding. This is lots of fun and seems so forbidden. You may want him or her moved to the kitchen or outside in case of food flinging.
7. I let him tear paper and cut paper. This is usually just done in strips but it is enjoyable. We love to tear paper.
8. We also love to stick stickers on paper (and ourselves)
9. You can make musical instruments out of arts and crafts and then let your child play with them.
10. We love stamps. You can buy stamp sets (lakeshore learning has great sets) or just make them out of cut up fruit (apples and potatoes work well) or cut up sponges, use cookie cutters, etc.
11. Mix up some water with food coloring and then put it in ice cube trays to freeze. When they are taking a bath put the ice cubes in with them and they can play and let them melt. Warning: some of these might stain so keep the mixture ratio of a lot more water than food coloring. Of course if it does stain it isn't the end of the world. You can also freeze toys into the ice cubes as well. (This is debatably art) I thought about filling a tray up with blue ice cubes and a tray with yellow ice cubes. dropping them in a bowl of water to see what color they make.
12. You can buy contact paper and then half pre-cut shapes of paper. Then they just drop the shapes on and it sticks. You can stick another piece of contact paper on the other side and then you artwork is finished.
13. I bought blank thank you cards and then had my son "decorate" the exterior with finger prints and whatever else from the above list interested him. This is a fun and personal way to make thank you cards (especially if the thank you is something from your child)
14. Chalk. You can create anything with minimal mess when you use chalk outside.
You can also google words like toddler art or baby art for additional ideas. The best advice I can give for this young age is that you need to enjoy the process of making the art rather than the end result. If you are focused on what the craft should look like you won't be satisfied.
Sunday, January 18, 2009
Farm Puppets
Kids always love to make puppets and paper bag puppets ar so easy.
You will need a pattern
scissors
construction paper
brown paper bag - 5 1/2"x11"
glue stick or double stick tape
Now you have two ways you can go with this.
1. You could print it out on white paper and have the kids color it (which is what i will do). I will have the shapes pre-cut for each child.
2. You could have sheets of different colored papers for the kids to cut out the different shapes (which is great with older kids working on their cutting skills) White for the horns, light brown for the face, darker brown for the nose, blue for the eyes, pink for the tongue.
First, Cut out the patterns
Head Pattern
Nose Pattern
Mouth and Tongue Pattern
Second, have the kids color the paper. Try to remember this is their project. If they want a pink cow or a purple cow- ITS OKAY.
Third, take the tongue pattern and fasten under the bag flap with a glue stick.
Fourth attach the nose to the cows face
Fifth, the decorated cow face is attached to the bag flap with a glue stick.
Now your cow should approximately look like this.

You can use this project to make any animal. If your theme is farm animals make cows, pigs, horses, etc. Then have a puppet show. Or a puppet parade.
pictures to come
You will need a pattern
scissors
construction paper
brown paper bag - 5 1/2"x11"
glue stick or double stick tape
Now you have two ways you can go with this.
1. You could print it out on white paper and have the kids color it (which is what i will do). I will have the shapes pre-cut for each child.
2. You could have sheets of different colored papers for the kids to cut out the different shapes (which is great with older kids working on their cutting skills) White for the horns, light brown for the face, darker brown for the nose, blue for the eyes, pink for the tongue.
First, Cut out the patterns
Head Pattern

Nose Pattern

Mouth and Tongue Pattern

Second, have the kids color the paper. Try to remember this is their project. If they want a pink cow or a purple cow- ITS OKAY.
Third, take the tongue pattern and fasten under the bag flap with a glue stick.
Fourth attach the nose to the cows face
Fifth, the decorated cow face is attached to the bag flap with a glue stick.
Now your cow should approximately look like this.

You can use this project to make any animal. If your theme is farm animals make cows, pigs, horses, etc. Then have a puppet show. Or a puppet parade.
pictures to come
Saturday, January 17, 2009
Play with jello
I found this great idea in the Gymboree Play and Learn Book.
Take 4 packet unflavored gelatin
2 cups cold fruit juice, apple or grape- no pulp
2 cups hot fruit juice, heated until just boiling
The parent part: Pour the cold juice into a large heatproof bowl. Sprinkle the gelatin over the cold juice and let stand for 1 minute. Add the hot juice and stir gently but thoroughly until the gelatin dissolves. Pour into an ungreased 9x13-inch cake pan and refrigerate until set.
The toddler or parent part: Use cookie cutters (simple shapes work best for small hand) to cut out the jellies. Or a parent could just cut them into squares.
The toddler part: Poke the jellies with your finger. Stack them up and watch them shimmy. Bounce them. Oh and eat them too!
Paint with Texture
Yes you can go to Lakeshore Learning and buy texture brushes BUT why do that when you can easily create textures on your own.
While looking at the pictures of those brushes that cost $23 I decided these household items could create the same effect.
1. Roll up a newspaper and tape it in the roll, dab the end in paint and it will create a spiral pattern.
2. Cut strips of fabric and leave them loosely falling at the bottom, tape together at the top to allow little hands to grab it like a handle.
3. Go to the grocery store and buy a bath sponge
4. Take a kitchen sponge, fold it in half, then tape the top.
5. Use a feather duster
You can use almost anything to create different textures. Feathers, sticks, rocks, a variety of fake flowers (how is each flower different), sea sponges, stenciling brushes.
You could take potatoes and carve different shapes and textures into the potato. You can do the same thing to erasers (you know the larger rectangular pink ones) and use them like stamps (that don't rot)
That having been said I am in love with Lakeshore Learning's Catalog.
Photos to come
Art Flash Cards
Create flash cards for kids to view different kinds of art. I would print them as a 5x7 picture on my computer, laminate them, hole punch the top corner and put them on a binder ring. You could put information about the artist on the back if you would like.
This will be one of my first tasks as a teacher. I am not doing this because I expect that a 1 1/2 to 2 yr old will understand who the artist was but because I think it is important that children have the chance to see art from a very young age.
You can research the artists and over the coarse of time teach them about each artist by telling them stories of their life. As I come up with my own stories I will share them with you.
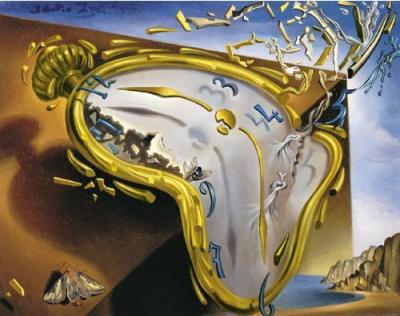
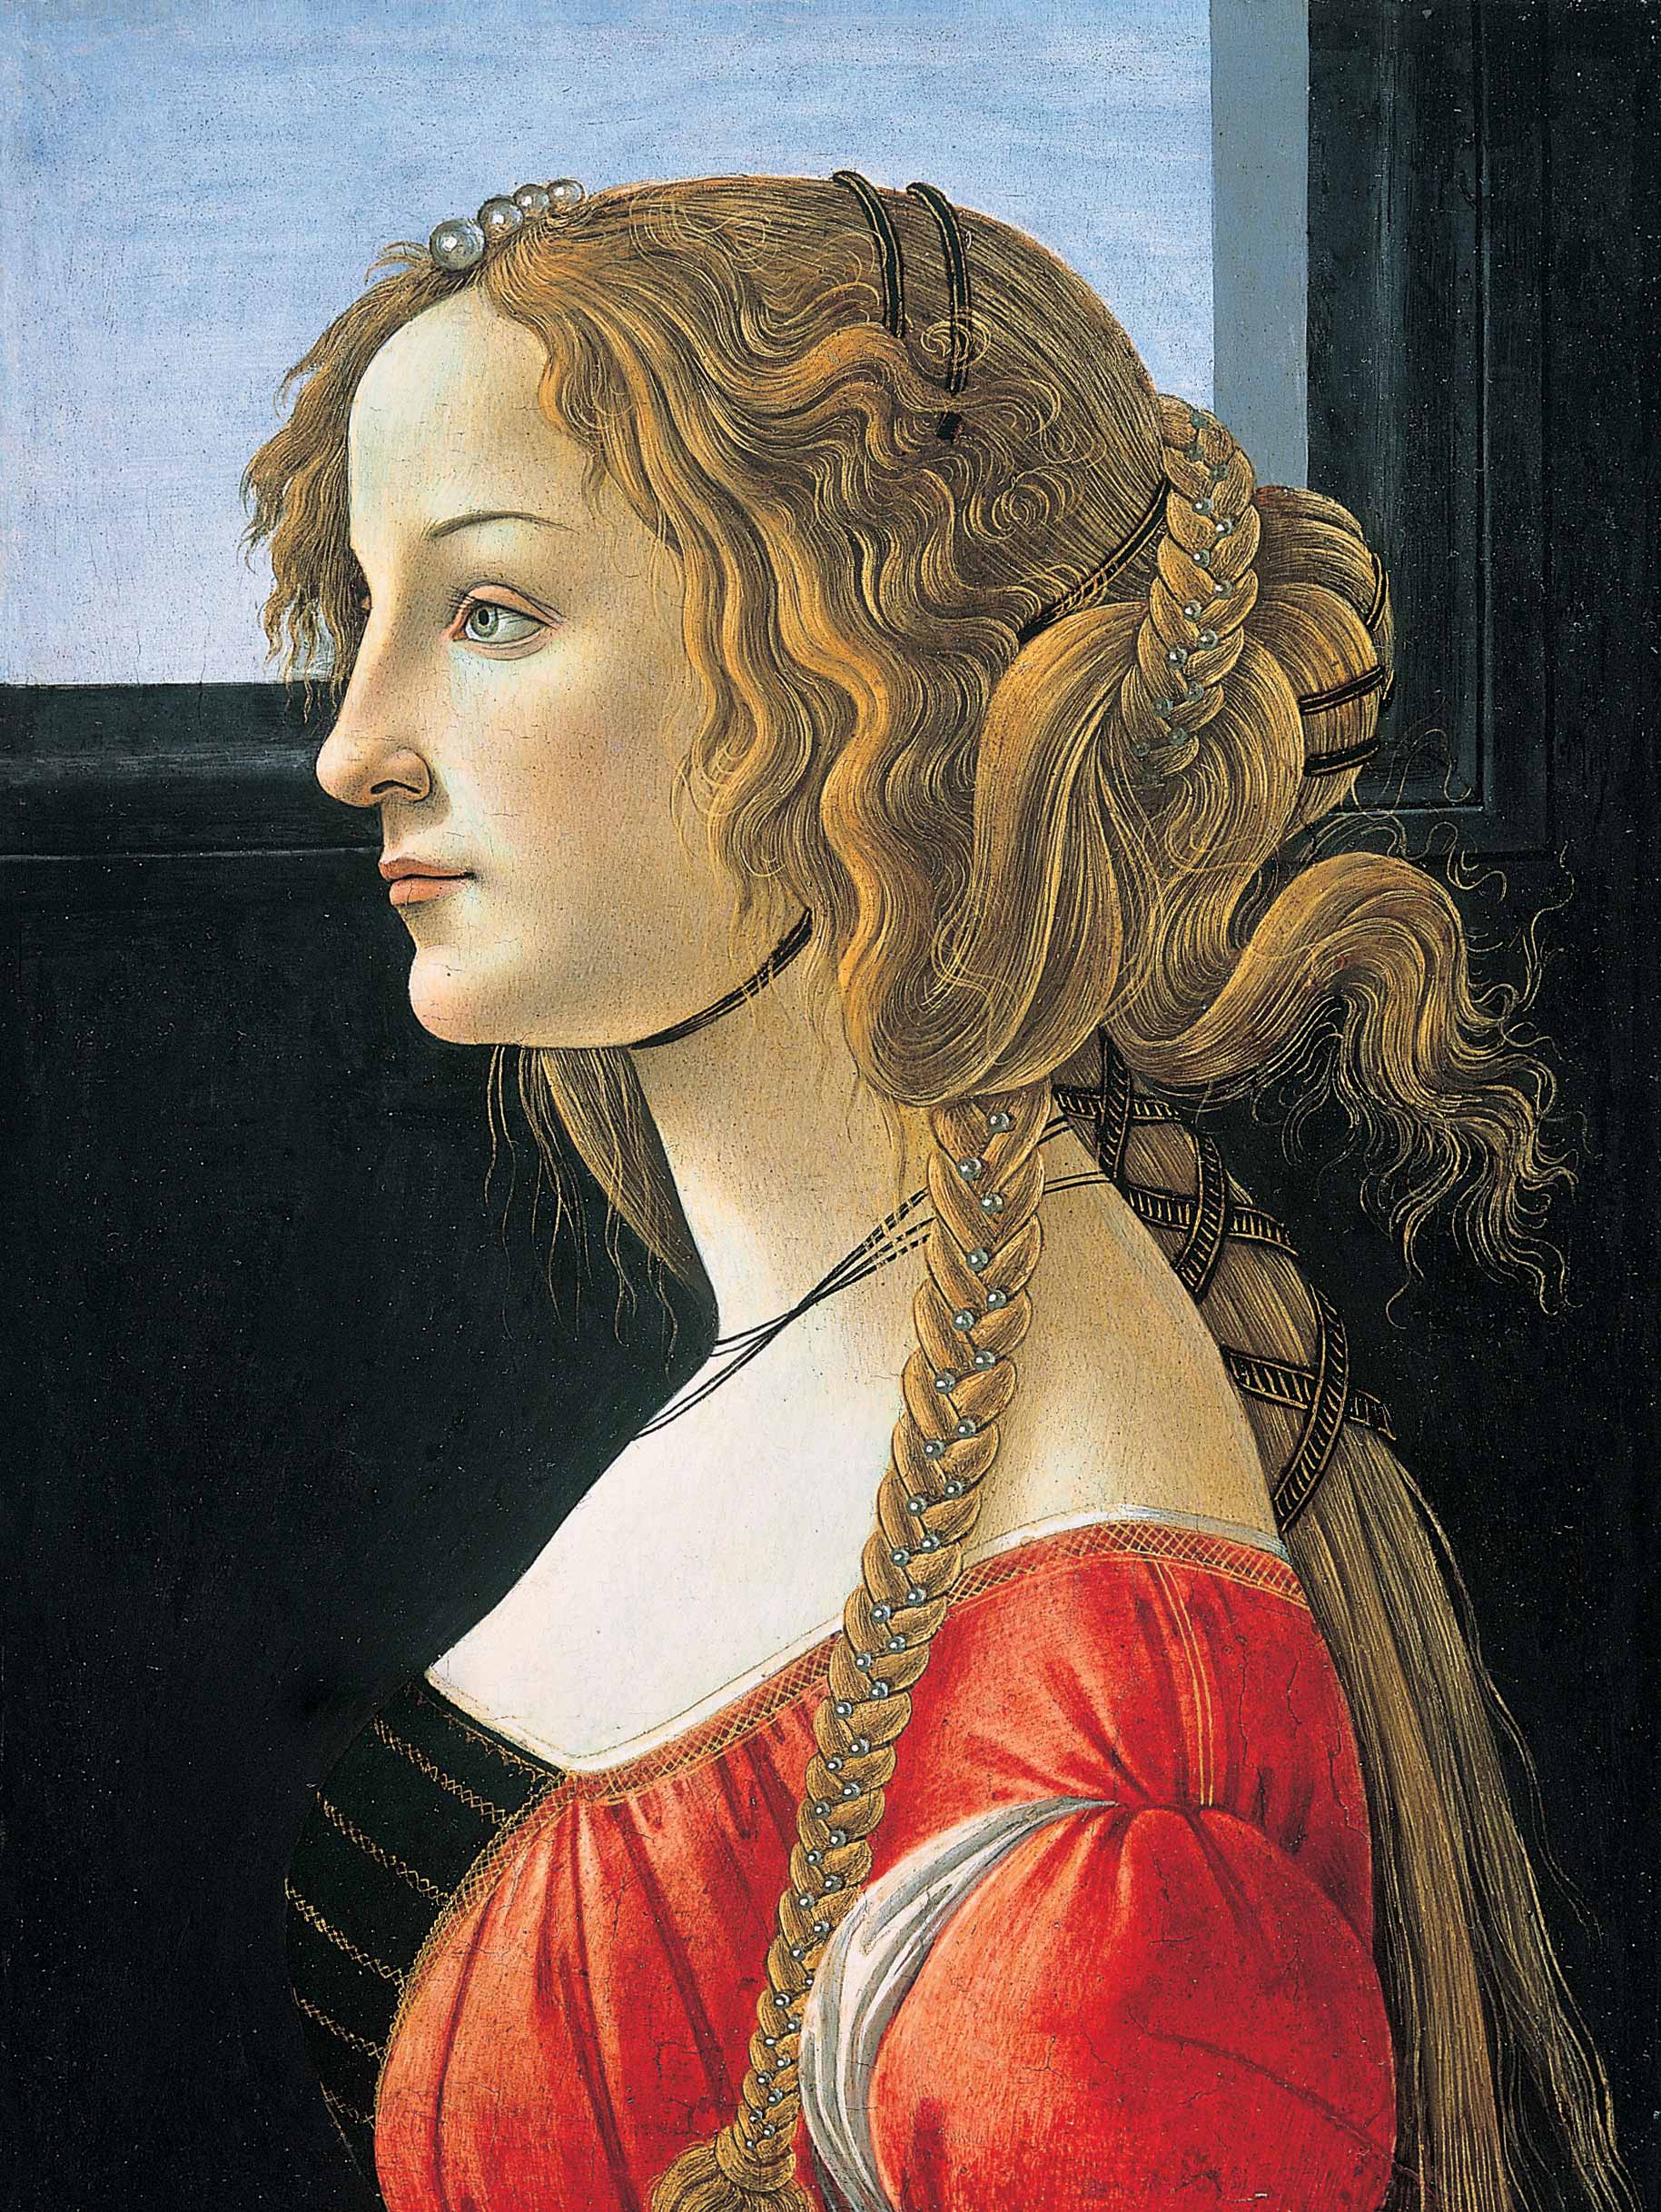
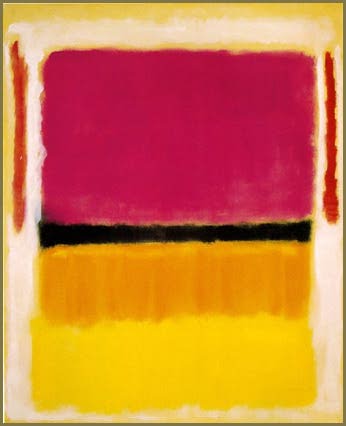
I put together some artists you may want to consider including. Salvador Dali, Picasso, Monet, Botticelli, Rothko, Matisse, Warhol , Pollock , Marc Chagall. I included some links to images for you but you could also go google additional images or go to wikipedia.
I would put together pictures of artwork from all different times, styles, colors, techniques. You want them to be visually very different. Just be sure the content you expose them to is appropriate.
You could also use these in a theme. Is your theme animals? Find artist who painted pictures with animals in them. Look at Marc Chagall's painting. Do you see an animal? What kind of animal is it?

That is right! A chicken and a goat. What sound does a chicken make? What sound does a goat make? Is a chicken usually the same size as a person? Can a goat really fly?
If you want you can integrate art into any theme, age or classroom if you want to.
This will be one of my first tasks as a teacher. I am not doing this because I expect that a 1 1/2 to 2 yr old will understand who the artist was but because I think it is important that children have the chance to see art from a very young age.
You can research the artists and over the coarse of time teach them about each artist by telling them stories of their life. As I come up with my own stories I will share them with you.
I put together some artists you may want to consider including. Salvador Dali, Picasso, Monet, Botticelli, Rothko, Matisse, Warhol , Pollock , Marc Chagall. I included some links to images for you but you could also go google additional images or go to wikipedia.
I would put together pictures of artwork from all different times, styles, colors, techniques. You want them to be visually very different. Just be sure the content you expose them to is appropriate.
You could also use these in a theme. Is your theme animals? Find artist who painted pictures with animals in them. Look at Marc Chagall's painting. Do you see an animal? What kind of animal is it?

That is right! A chicken and a goat. What sound does a chicken make? What sound does a goat make? Is a chicken usually the same size as a person? Can a goat really fly?
If you want you can integrate art into any theme, age or classroom if you want to.
Rolling Art
What you need:
Paint
Newspapers
Large Pieces of Paper
Items that roll - this can be a variety of balls, trucks or anything you can come up with in your imagination. Don't use anything too valuable just in case the paint does not come off.
Set the ball (or other item) in paint and roll it to your child. Instruct your toddler to roll it back to you. Be careful they may decide to bounce the ball. You can use different colors of paint for different objects so they can see how the different objects made different patterns.
Recycle Old Boxes
You can create anything with an old box. We once took an old box outside and the kids painted it to their hearts content. Once it dried we brought it inside and created a tunnel system to crawl through and play in. We have also created a rocket ship and a fort. This is the simplest way for a child to use their imagination and (if you can keep from forcing your ideas of what it should look like) it is the easiest way for them to enjoy the process of painting. Think of this as the toddlers version of a combined painting and sculpture project.
Welcome
As an artist I always have ideas for activities with my three boys. I love to share these ideas with others because I obviously value art and the impact it has on young children. With that in mind I decided to create a blog of ideas that you can do with your children. If you are an early childhood teacher like I am, then feel free to use these in your classroom. Some of these activities I came up with on my own and some of these I found in books.
So with all that having been said, go forth and create!
So with all that having been said, go forth and create!
Subscribe to:
Posts (Atom)